Video can be input from a computer or other video source that provides HDMI output. Some computers/devices also send audio via HDMI. If this is the case, the audio will automatically be sent to our audio system.
Our projectors can be used individually or both at once. They are fed from a single video source which means they can not display different programming.
There is a single HDMI video input next to the director’s desk. The VGA video inputs under the whiteboard at the front of the playing area and under the whiteboard at the side of the playing area no longer work with our system.
Video equipment is located in the equipment rack (the black metal enclosure) on the outer wall of the women’s bathroom. Inside the rack there is a matrix switch (to allow future switching of video inputs) and electronics to extract audio (if present) from the video signal and send it to our audio system.
The projector and screen remote controls are stored in the director’s desk. Cables and adaptors you may need are stored in the storage room next to the director’s desk. Ask a director to help you find them.
We also have a portable projector in case users can not connect to our built-in system.
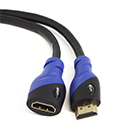
 Use an HDMI cable to connect the computer to our video system or portable projector.
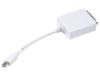
 Use our adaptor, as well as software install, to convert USB output to HDMI
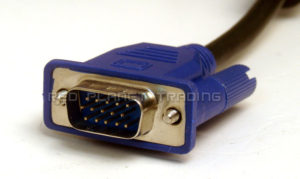 Use our VGA cable to connect a computer with VGA output to our portable projector. The projector also has HDMI input but we have been unsuccessful using it.
")